THE
DIFFERENT ILLUUSTRATIONS IN
THE
first BIGGLES OMNIBUS
Certain illustrations from the first
editions of these books appear to have been redrawn. Certainly, with the exception of the map, all
five of the illustrations from
Biggles ‘Fails to Return’ were redrawn –
including the book cover and frontispiece – presumably this was because the
original book had mainly small illustrations.
In fact, that book only had two full page
internal illustrations, but strangely, those two were also redrawn as
well. (Had the originals been lost?)
– Here you can compare the new
illustrations with the original ones. It
is very much a case of spot the difference as they are so similar.
For completeness, I also give details of
which illustrations from the first editions are not reprinted in this omnibus.
By clicking on any of the original book
titles, you can view all of the original first edition illustrations together
in the order that they appeared.
|
The original first edition featured a
colour frontispiece “I sat in the top of the palm like a
caterpillar in a cabbage, listening to the Nazis talking underneath” There is then an illustration on page
27 “I’ve got an idea what’s happened to
him,” said Biggles grimly.
“Flight-sergeant, check up my compass, will you, and report to me in
the mess tent.” The original first edition featured a
two-page illustration on pages 40 and 41 “Magnified by the flat background behind
them they were huge, distorted, more like strange spirits of the desert than
living creatures” There is then an illustration on page
53 “… there has been a lot of talk up in
the Western Desert about a star-turn pilot named von Zoyton – he commands a
Messerschmitt jagdstaffel, and has some sort of stunt, a trick turn,
they say, that has enabled him to pile up a big score of victories” There is then an illustration on page
69 “The Nazi’s right hand flew up. Biggles nodded. “Yes, we know all about that,” he said
quietly, “Try forgetting it for a little while” There is then an illustration on page
85 “There was a brief struggle, and then
the spanner came down on Henry’s head with a force that would certainly have
split his skull had not the sun helmet taken some of the shock of the blow” There is then an illustration on page
91 “It seemed that the Messerschmitt
preferred to take evading action rather than fight, for it now did its best
to avoid combat” There is then an illustration on page
155 “To Algy he said, “So long – see you
later.” Biggles climbed out, and then dropped
off into space” * (* This
illustration was famously spoofed by Monty Python in ‘The Brand New Monty
Python Papperbok’) The original first edition featured a
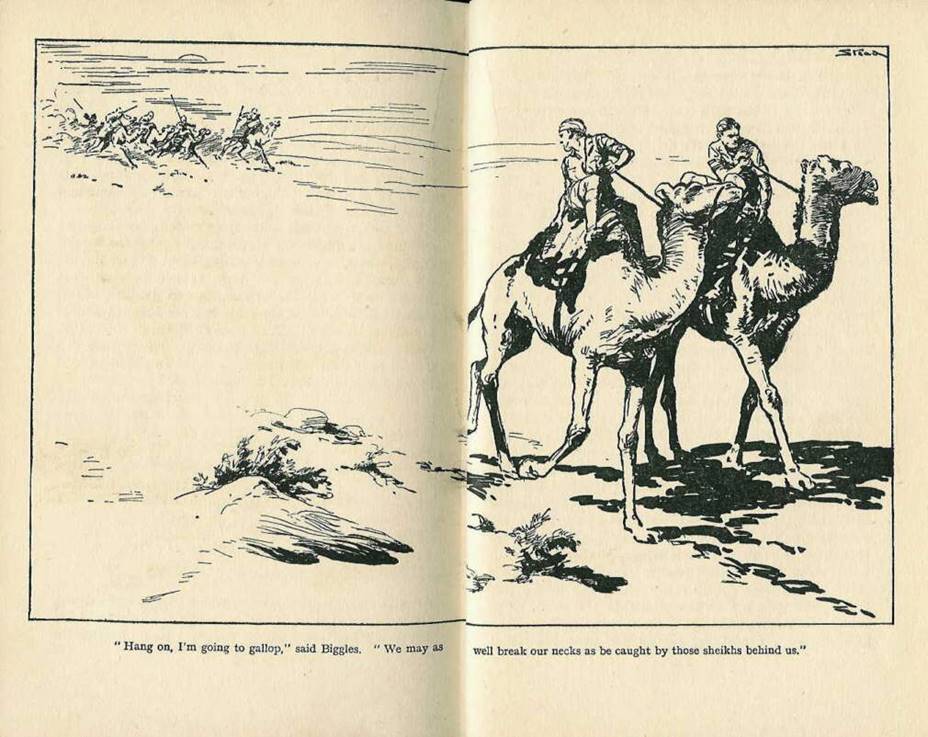
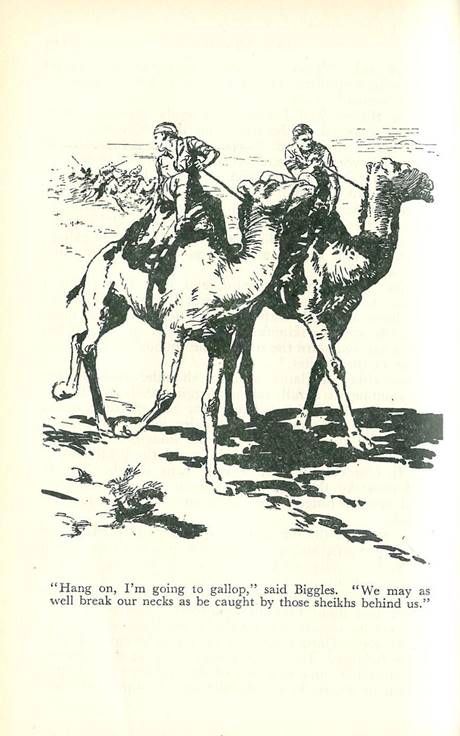
two-page illustration on pages 184 and 185 “Hang on, I’m going to gallop,” said
Biggles. “We may as well break our necks as be
caught by those sheikhs behind us” |
THE FIRST BIGGLES OMNIBUS VERSION This plate does not feature in the
Omnibus, nor is it redrawn This illustration is on page 33 This illustration does not feature in
the Omnibus This illustration does not feature in
the Omnibus This illustration does not feature in
the Omnibus This illustration is on page 75 This illustration is on page 18 – used as the Frontispiece for this story This illustration is on page 128 This illustration is on page 146 – You will note this has been carefully combined so that it becomes a one-page
illustration by moving the Arabs on the left of the picture to the top left
of the right hand page |
||
|
|
|
||
|
|
|
||
|
The original first edition featured a
colour frontispiece “Biggles made the smoke signal” There is then a small illustration – a
‘vignette’ - on the title page The original first edition featured a
page with 2 illustrations between pages 16 and 17 The illustration opposite page 16 was “Just a minute”, said Ginger. “There’s
another brass hat” The illustration opposite page 17 was “Lal Din” The original first edition featured a
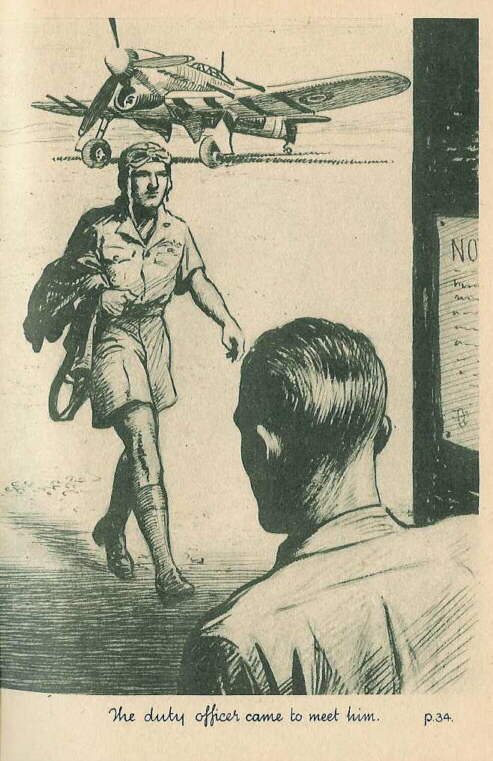
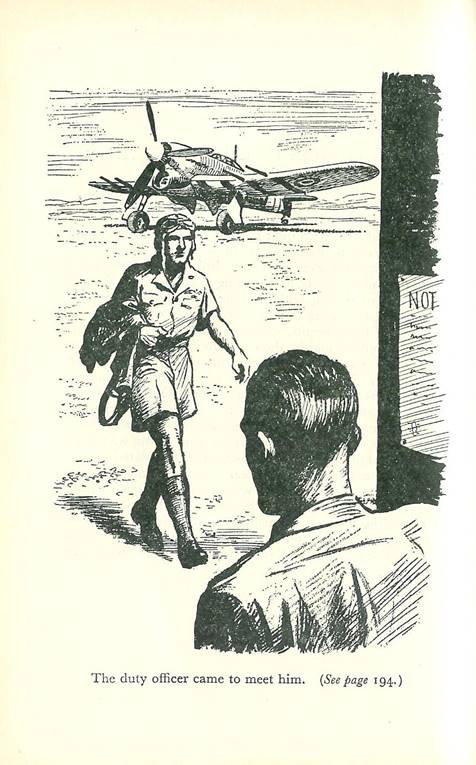
page with 2 illustrations between pages 32 and 33 The illustration opposite page 32 was “The duty officer came to meet him” |
THE FIRST BIGGLES OMNIBUS VERSION This plate does not feature in the
Omnibus, nor is it redrawn This small ‘vignette’ illustration does
not feature in the Omnibus This illustration is on page 175 This illustration does not feature in
the Omnibus This illustration is on page 170 – used
as the frontispiece for the story. It doesn’t appear to have been redrawn
but it does differ from the original in that the shadows at the feet are not
present in the Omnibus version and there is more shading above the aircraft |
||
|
|
|
||
|
The illustration opposite page 33 was “His eyes were heavy from want of
sleep” The original first edition featured a
page with 2 illustrations between pages 42 and 43 The illustration opposite page 42 was “Me Savvy”, the Chinaman grinned” The illustration opposite page 43 was “The Japanese soldiers broke into an
excited jabber” The original first edition featured a
page with 2 illustrations between pages 64 and 65 The illustration opposite page 64 was “A Gypsy Moth float-plane swung into view
tearing low up the river” The illustration opposite page 65 was “They’re getting cocky,” mused Biggles The original first edition featured a
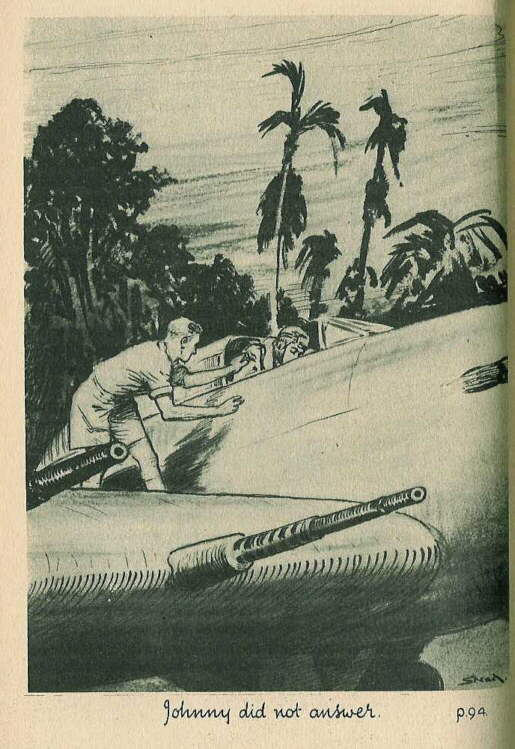
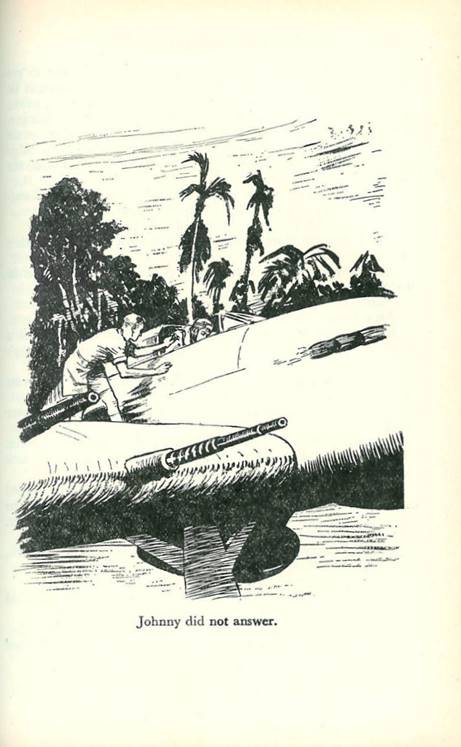
page with 2 illustrations between pages 92 and 93 The illustration opposite page 92 was “Get up, Gray,” snapped Johnny irritably The illustration opposite page 93 was “Johnny did not answer” |
This illustration does not feature in
the Omnibus This illustration is on page 202 This illustration does not feature in
the Omnibus This illustration does not feature in
the Omnibus This illustration does not feature in
the Omnibus This illustration does not feature in
the Omnibus This illustration is on page 245. It doesn’t appear to have been redrawn
but it does differ from the original in that it is as if the camera has pulled
further out, whereas the original was more of a close up. It is also missing the ‘Stead’ signature. |
||
|
|
|
||
|
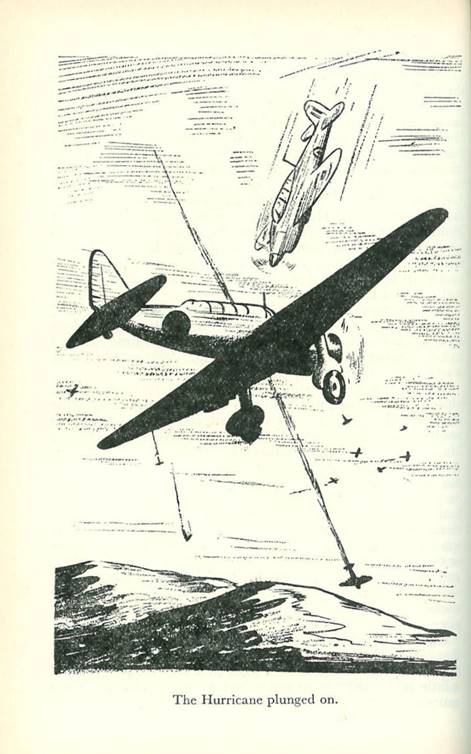
The original first edition featured a
page with 2 illustrations between pages 100 & 101 The illustration opposite page 100 was “The hurricane plunged on” |
This illustration is on page 256 and
although it is very similar to the original, it does appear that it has been
redrawn. It’s not just the shading of
the ground, but look at where the smoke trail bisects
the aircraft …. Above the aircraft, it is clearly in a
different place. |
||
|
|
|
||
|
The illustration opposite page 101 was “Like a black wraith the marauder appeared” |
This illustration does not feature in
the Omnibus |
||
|
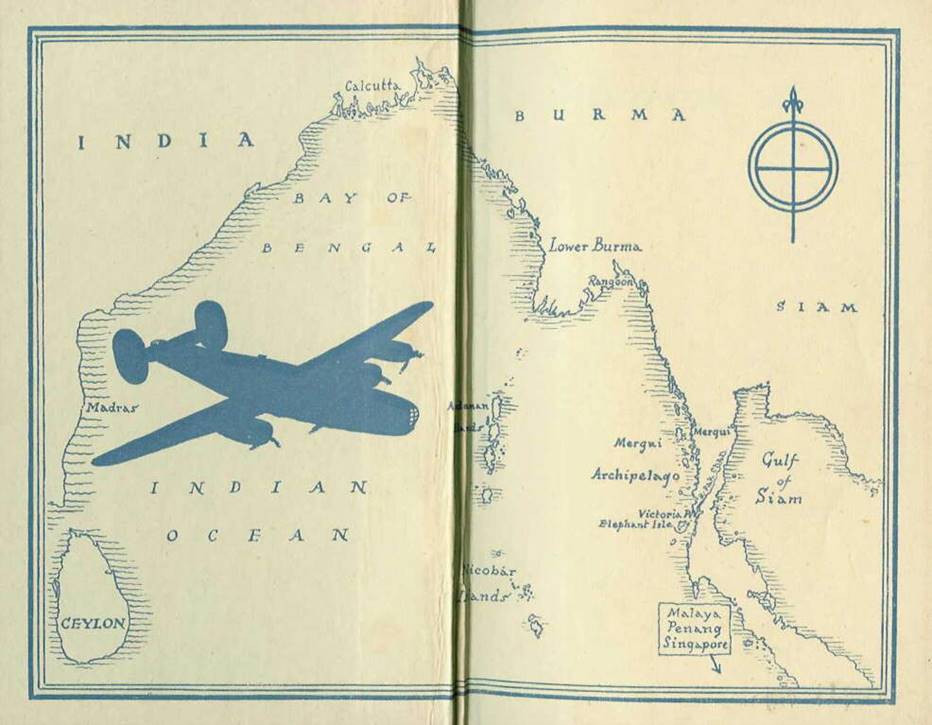
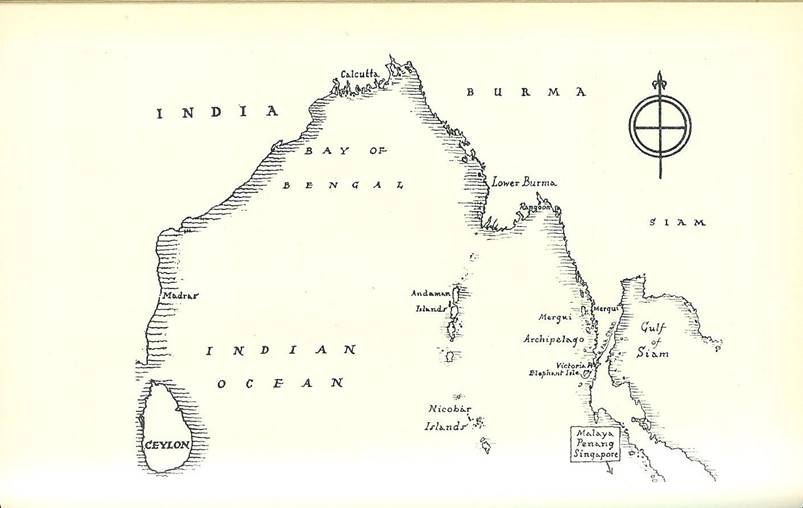
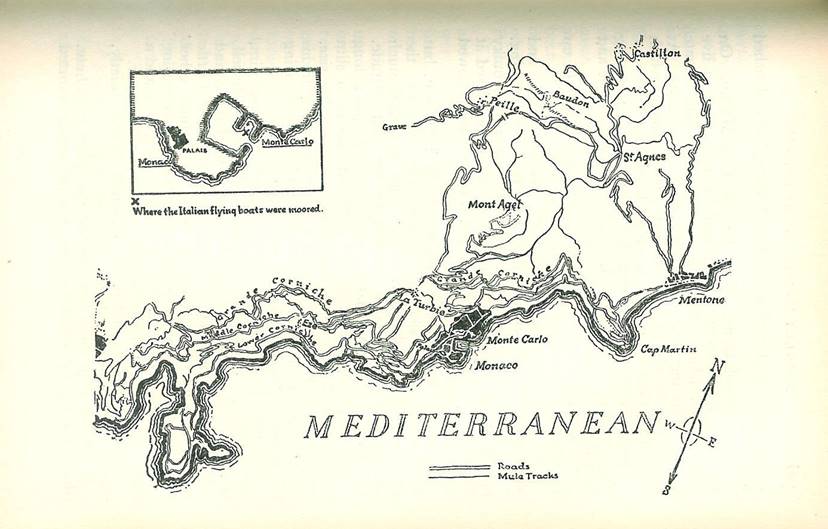
The original first edition featured a
two-page map on the front endpiece |
THE FIRST BIGGLES OMNIBUS VERSION The same map, but without the aircraft
silhouette, is on page 336 However, it is in the Omnibus sideways
in ‘portrait’ mode. I show it here ‘landscape’ for ease of
reading and comparison |
||
|
|
|
||
|
The original first edition featured a
colour frontispiece “It was the Lotus, proceeding at full
speed” There is then a reasonably large
illustration – a ‘vignette’ - on the title page The original 1st edition featured a
black and white illustration between pages 36 & 37 “Li Chi was in keeping with his
surroundings” There is then a black and white
illustration between pages 74 and 75 “Ayert – ferocious-looking bosun.” The original first edition featured a page
with 2 illustrations between pages 76 and 77 The illustration opposite page 76 was “They were congregating with excited
gestures” The illustration opposite page 77 was “Major Marling lashed to a tree” The original first edition featured a
page with 2 illustrations between pages 92 and 93 The illustration opposite page 92 was “When a huge grey shape loomed ahead” The illustration opposite page 93 was “They looked like creatures of another
world” The original 1st edition
featured a black & white illustration between pages 104 & 105 “… decks lined with curious faces” There is then a black and white
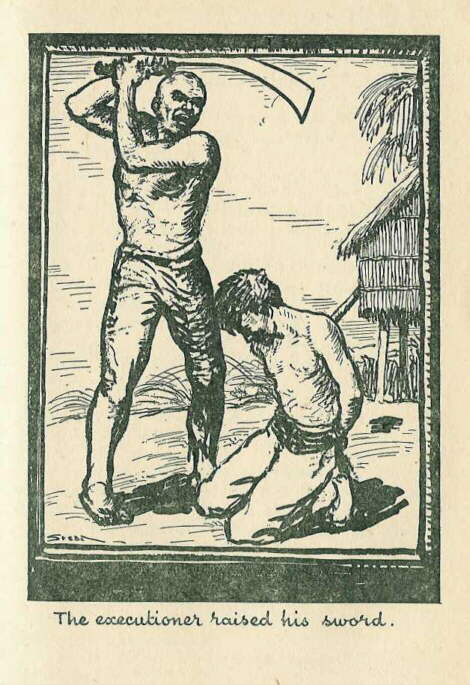
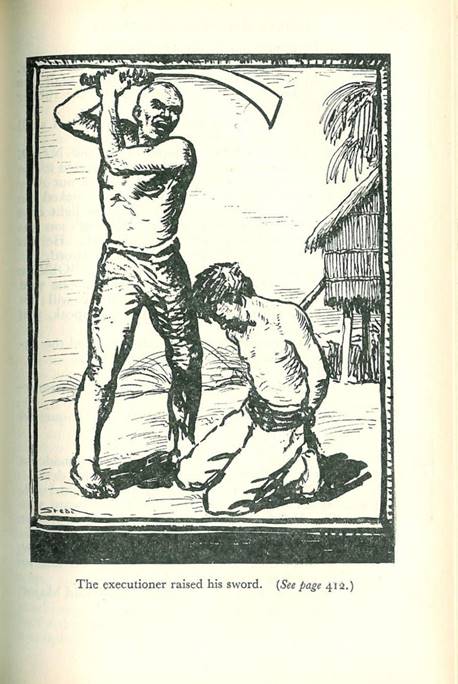
illustration between pages 112 and 113 “The executioner raised his sword”* (* This
illustration is one of the most striking and dramatic from all of the Biggles
books and is perhaps unusual in a “children’s” book) |
This plate does not feature in the
Omnibus, nor is it redrawn This ‘vignette’ illustration does not
feature in the Omnibus This illustration is on page 347 This illustration is on page 379 This illustration does not feature in
the Omnibus This illustration does not feature in
the Omnibus This illustration does not feature in
the Omnibus This illustration does not feature in
the Omnibus This illustration is on page 320 – used
as the frontispiece for the story. This illustration is on page 411. It doesn’t appear to have been redrawn
but it does differ from the original in that there is a patch of black shadow
below the hut in the original version that does not appear in the Omnibus
version. |
||
|
|
|
||
|
The original 1st edition
featured a black & white illustration between pages 158 & 159 “What are you doing?” called Biggles |
This illustration is on page 449 |
||
|
The original first edition featured a two-page
map on the front endpiece |
THE FIRST BIGGLES OMNIBUS VERSION The same map is on page 495 However, it is in the Omnibus sideways
in ‘portrait’ mode. I show it here ‘landscape’ for ease of
reading and comparison |
||
|
|
|
||
|
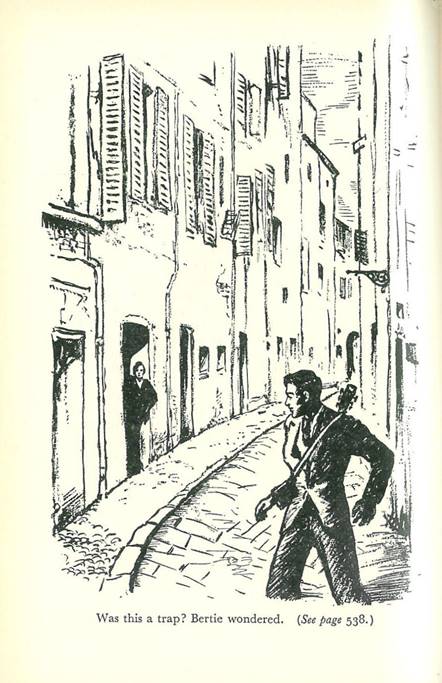
The original first edition featured a
colour frontispiece “Was this a trap? Bertie wondered.” |
The same scene has now been redrawn and
is on page 472 – where it is used as the frontispiece
for the story. |
||
|
|
|
||
|
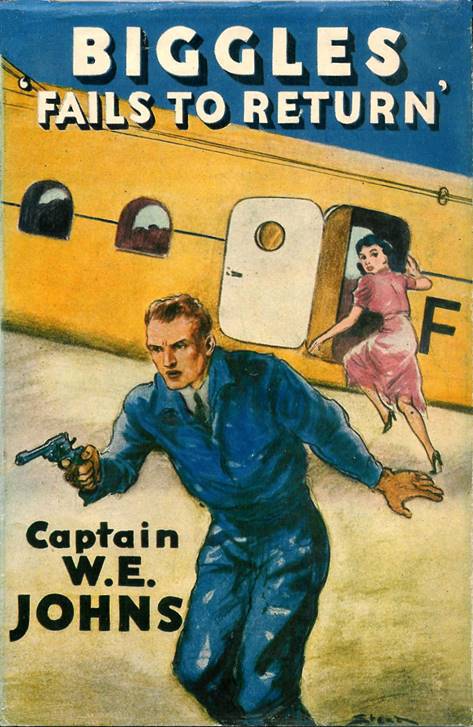
There is then a small illustration – a
‘vignette’ - on the title page Interestingly, here is the original
first edition dust jacket cover for this book |
This small ‘vignette’ illustration does
not feature in the Omnibus The same scene has now been redrawn and
is now on page 481 “Biggles shouted to the princess to get
aboard, and tried to hold the Italians with his pistol” |
||
|
|
|
||
|
The original first edition featured a
black & white drawing in the middle of the text on page 8 “Which can only mean that Biggles isn’t
coming back.” There is then a small black and white
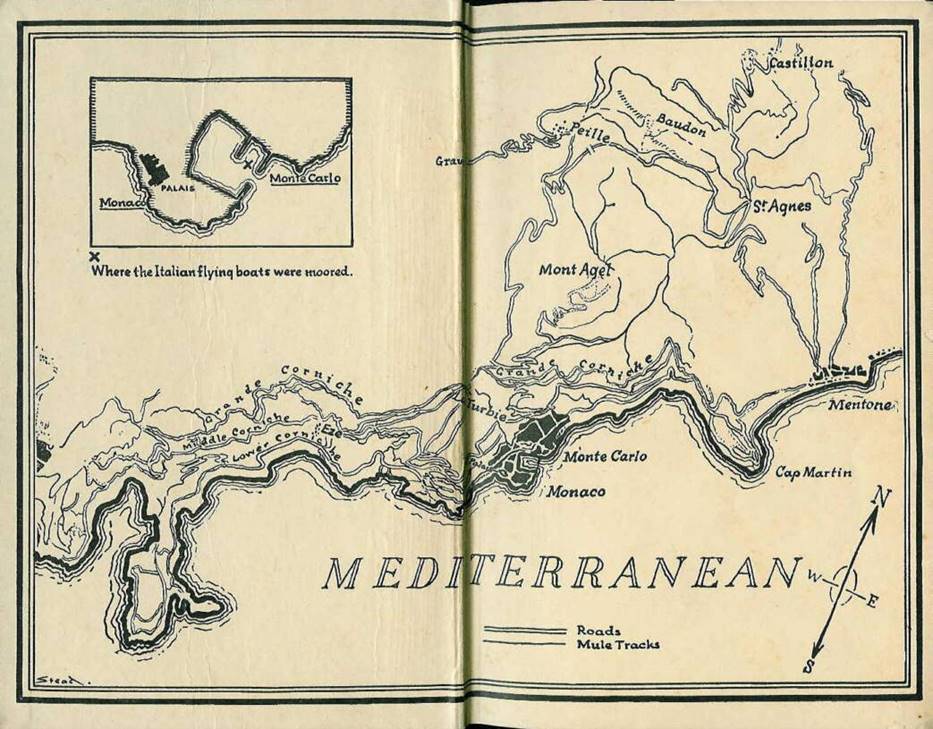
illustration at the top of the text on page 33 “Monaco: The Rock” There is then a small black and white
illustration at the right-hand side of the text on page 37 “Ginger shouldered his onions and set
off down the road.” There is then a black & white
drawing in the middle of the text on page 55 “Ginger with a start looked up to see
Mario regarding him with attentive, suspicious eyes” There is then a black & white
drawing in the middle of the text on page 77 “…. his actions were now even more
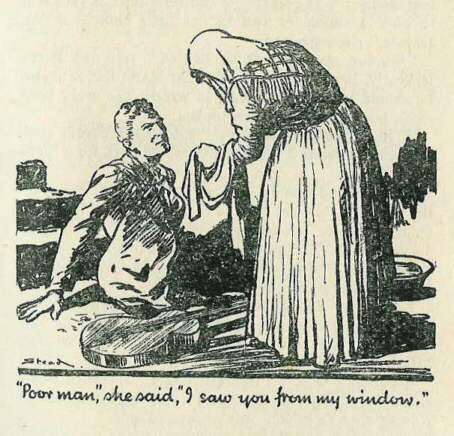
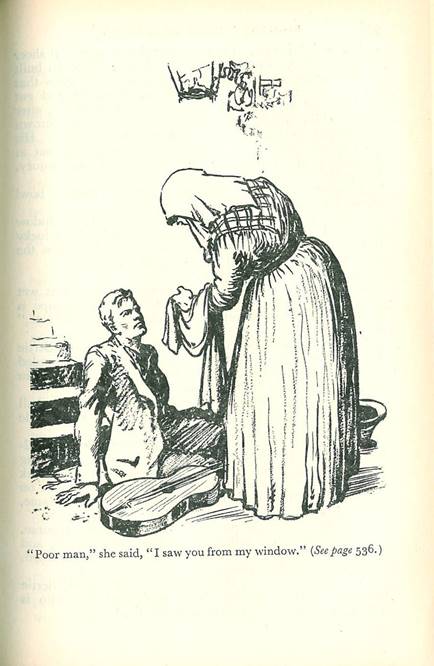
sinister” There is then a black & white
drawing in the middle of the text on page 85 “Poor man,” she said, “I saw you from
my window.” |
This illustration does not feature in
the Omnibus This illustration does not feature in
the Omnibus This illustration does not feature in
the Omnibus This illustration does not feature in
the Omnibus This illustration does not feature in
the Omnibus The same scene has now been redrawn, but
this time as a full-page illustration, and it is on page 535 |
||
|
|
|
||
|
The original first edition featured a
two-page illustration on pages 88 and 89 “Algy took the pistol & slammed it
against the Italian’s head.” There is then a black & white
drawing in the middle of the text on page 101 “Eze village, perched on a pinnacle of
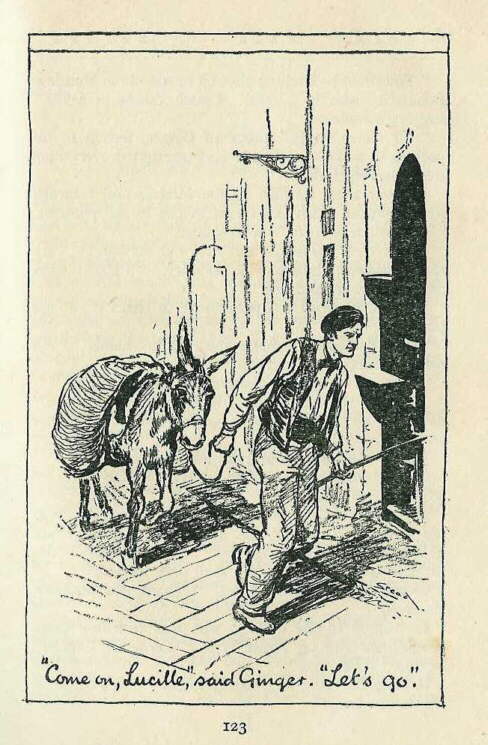
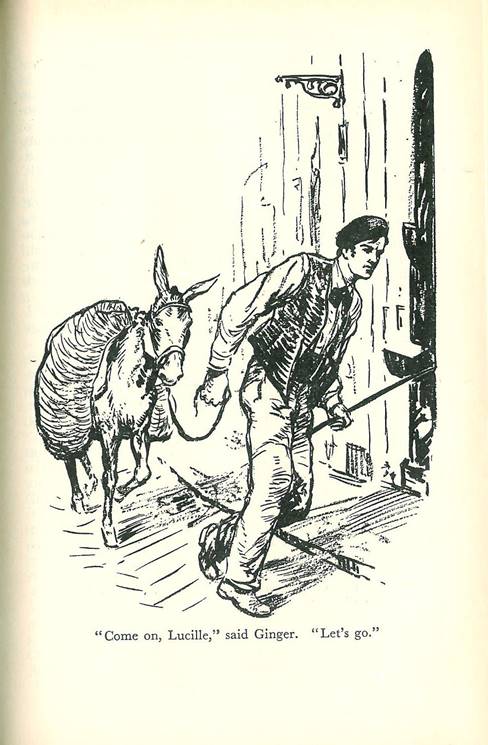
rock.” The original first edition featured a
full-page illustration on page 365 “Come on, Lucille,” said Ginger. “Let’s go.” |
This illustration does not feature in
the Omnibus This illustration does not feature in
the Omnibus The same scene has now been redrawn and
is on page 365. The drawing is remarkable similar and it takes time
to spot the differences but note the ground and the position of Ginger’s
cane. The donkey is also different. |
||
|
|
|
||
|
The original first edition featured a
black & white drawing in the middle of the text on page 131 “Suddenly he saw a movement. A man, a man in black.” There is then a black & white
drawing in the middle of the text on page 135 “Don’t move,” said the Princess, “Drop
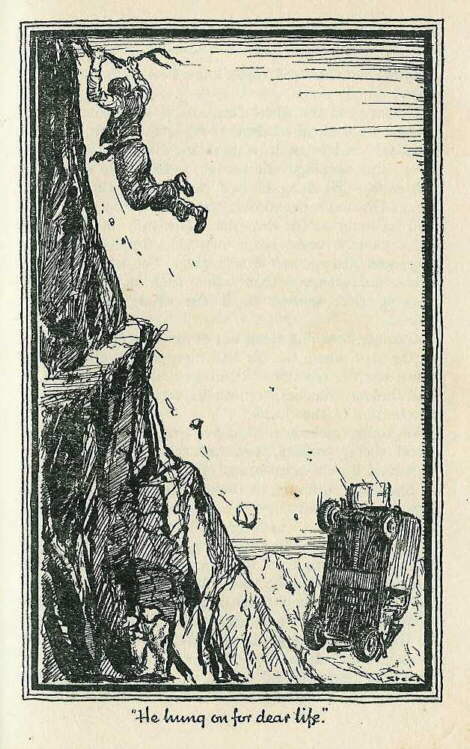
that pistol.” The original first edition featured a
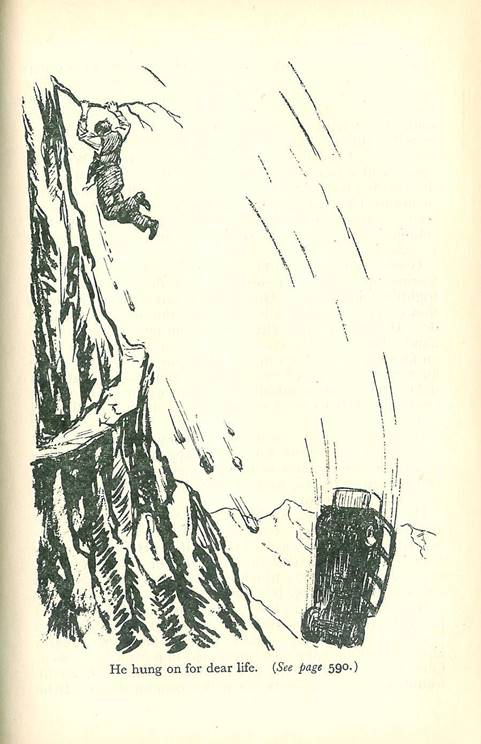
full-page illustration on page 157 “He hung on for dear life” |
This illustration does not feature in
the Omnibus This illustration does not feature in
the Omnibus The same scene has now been redrawn and
is on page 589. The drawing is remarkable similar and it takes time
to spot the differences but the vehicle is clearly different as is the
branch Ginger clings to. |
||
|
|
|
||
|
|
|
||


RETURN TO THE MAIN W.E. JOHNS PAGE